 Hey Everyone!!! Well, today is my day on the Let's Get Acquainted!! Blog Hop. I just want to thank Beth of Plum and June for hosting this great get together :) Also be sure to check out Sara's tutorial today over at Sara Sews Quilting Blog. I look forward to seeing what she's doing. I have to say I have been a little nervous. I have never put a tutorial together before so I hope it's easy to understand and that you all like it. Before we get into the picture heavy tutorial I'll tell you a little bit about myself. My lovely mother named me January Faith - can anyone tell that she was a hippie? ;) I have been married to my awesome husband Justin for almost 9 years. We have two great little boys who are so full of life!! I'm homeschooling them so sometimes it can be a bit crazy in the house. I started quilting around a year ago and wouldn't have believed you if you told me where I would be now. Here are some Q&A's Beth had for us.
- Favorite quilting tip(s)
There are so many great quilting tips that it's hard to narrow it down. I think the most important parts for me are:
1. Accurate Cutting
2. Making sure you have a 1/4" seam (the 1/4" foot is essential)
3. Pressing, Pressing & Pressing!
- Favorite fabric (or wish list fabric)
I heart Kona Solids
- Favorite craft book
The Practical Guide To Patchwork by Elizabeth Hartman
- Favorite music to listen to while quilting
I am a Jammer and have all sorts of music playing while I sew.
- If I'd only known - what you wish you knew about blogging before you started your blog
Just to get in there and do it!! I was so afraid to start one that it took me months before I actually did. I look back and think how silly I was. Everyone starts out the same way. Don't poo poo the small beginnings!!
One more thing: I am a visual learner. So I like tutorials that have lots of pictures. Warning!!! This post has a ton of photos and they may not all be necessary, but they're here :)
Now if you are still with me on with the show.
Now if you are still with me on with the show.
I had been thinking for a while about what I would make for this hop and to tell you the truth, I had no idea. I had no inspiration and
really thought "Oh Crap what have I gotten myself into!" :)
I said a little prayer and got struck. There's nothing new under the sun, but I liked the idea I just had and ran with it. A block binder or portfolio. Anytime I take my blocks anywhere they always get wrinkled or squashed so I thought this would be perfect to keep them nice and neat.


I love this fabric so much and have been crushing on the typewriters and view finders forever.

* One quick note - upon finishing the Block Binder I noticed I had neglected to put on the zipper tape :( However Debbie over at A Quilter's Table just did an amazing tutorial on a zippered pouch and how to prepare zipper tape. This is real life and sometimes things don't go as planned.
Materials:
1 yard of fabric - you will have leftover fabric for other projects
Canvas - I upcycled a canvas bag, but I would say 3/4 yard
A package of Heat N Bond or some kind of fusible web
A 36" long zipper - I had a hard time finding one this size, but I found one at Whipstitch Fabrics
And Coordinating Thread

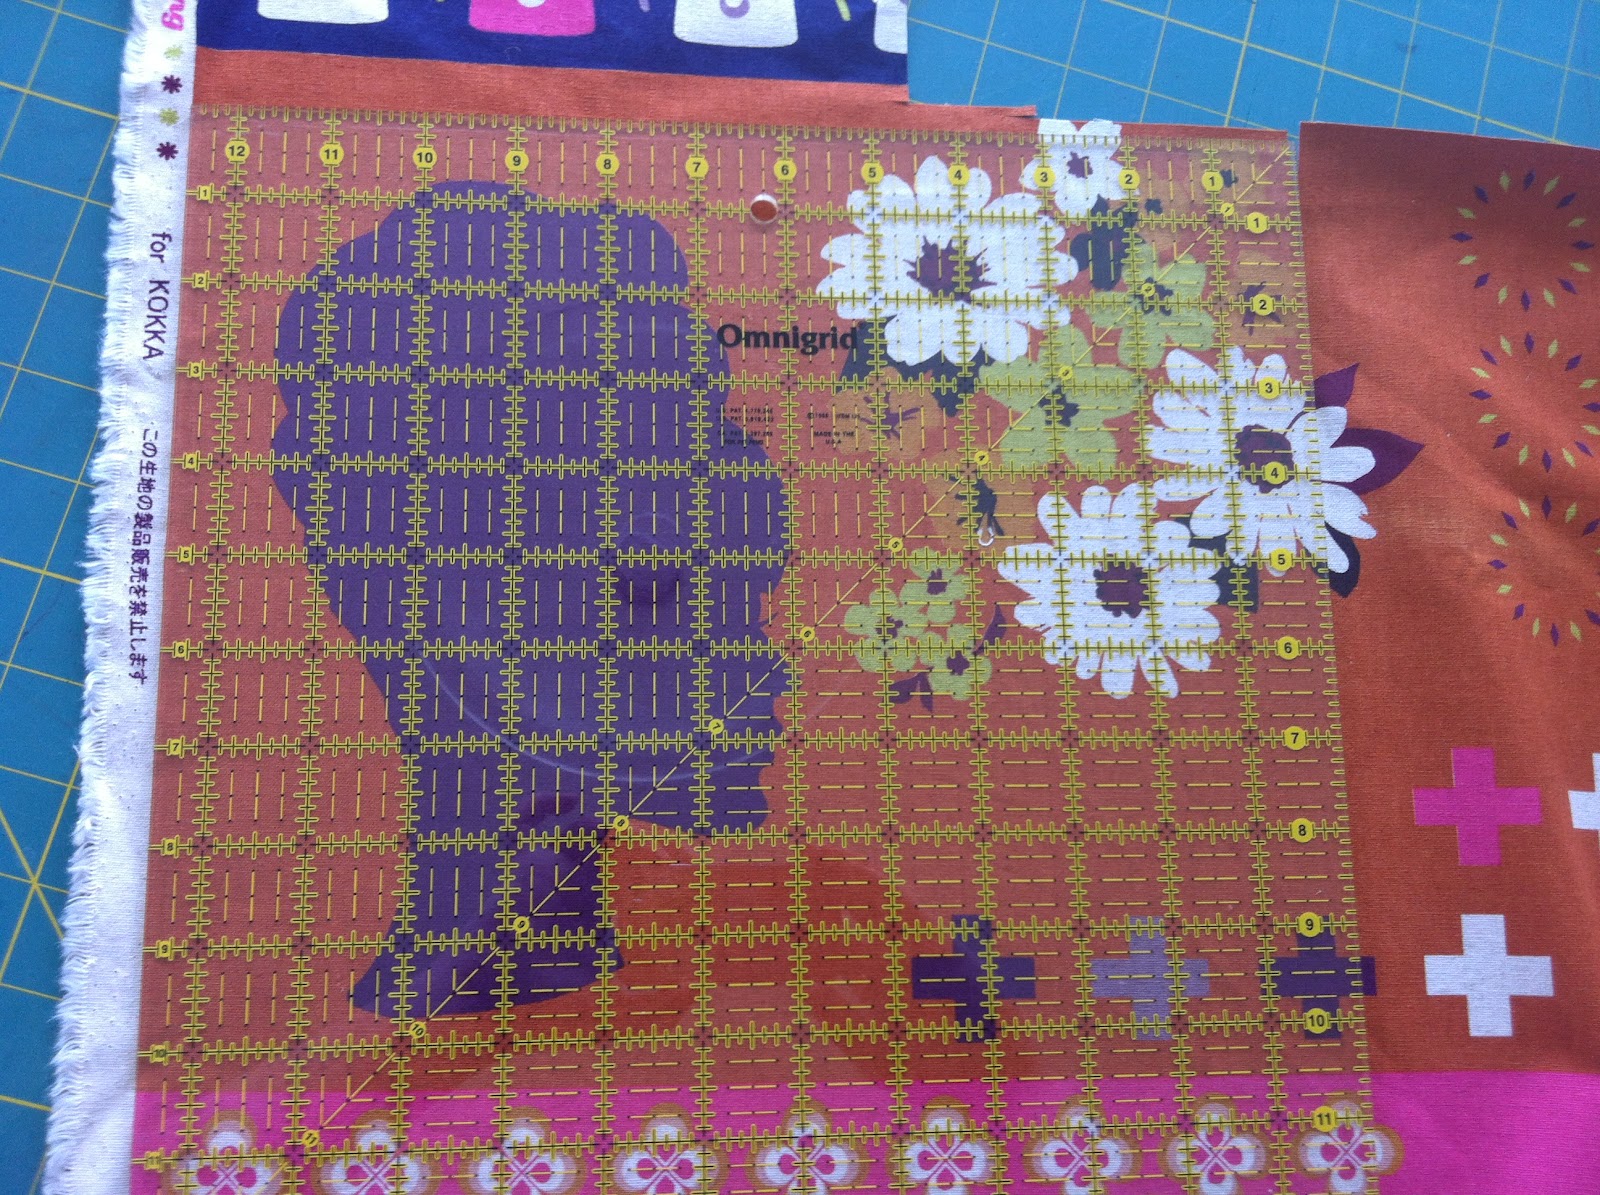
I took my 12 1/2" ruler and cut out (2) fronts
Front 1 - Outside


Front 2 - Inside

And (2) Backs

Back 1 - Outside

Back 2 - Inside

You also need (2) 1 1/2" X 12 1/2" strips for the spine of the binder.

Here is one of the strips.

To give the binder some structure and stability I used a canvas bag and cut my pieces out of it. Any canvas should do the job just fine.

I cut the same (2) 12 1/2" X 12 1/2" squares. I have to say after finishing my project that I would recommend cutting the canvas down a little bit, but you can do that at a later step.

I used Heat n Bond that I picked up at my local craft store. Follow the directions on the back of your package. I wanted to fuse the fabric to the canvas so that it wouldn't wrinkle.

I traced a 10" sq on the paper side and cut out 4 of them. I had to piece some leftovers to get 4, but that doesn't matter.

I fused it to the canvas and then peeled the paper off.


Then line up the Front Outside fabric and fuse it to the canvas.

Repeat and do the same thing with the second piece of canvas and the Back Outside piece of fabric.
Congrats!! We made it to the zipper portion of the tute.
I unzipped the zipper and started pinning it to the ooppps wrong side of the fabric. You live and learn, right? My outside back has now become my outside front :) 


Make sure when you are pinning your zipper that the zipper pull is facing the inside, because we will be turning this inside out so you want it to come out right. I hope that makes sense. I pinned wrong and realized my mistake before stitching. Thank goodness!!

Pinning around the corner was something I hadn't done yet - it was a lot of fun!!


Ok when it's all pinned in place were going to sew this bad boy down. I started with the zip opened a little.

When I got to the zipper pull, I needled down and I lifted the presser foot and zipped it all the way up.


We are now getting to the first curve. My advice is to go slow. The zipper is pretty hard and it takes some time to get around it. I found that if I pushed the curve in toward the middle of the bag and just inched along it worked perfectly.


Lift the presser foot and unzip until the zipper pull is past the foot, lower presser foot and then sew on.

Zip it back up and place the backing fabric on top with right sides together. Your only going to sew the three sides that has the zipper already attached.


Again with the zipper. Unzip...Sew...Lift...Zip...Sew


Going around the curve again, just nice and slow.


All stitched and ready to flip over. On the backside you have your canvas that is ready for the heat n bond. Follow the same directions as you did before.

Peel the paper off and turn the bag inside out or right side out. Sorry I didn't have anyone to take a picture of me doing it. It's a little sticky, but don't be shy you can man handle it a bit.

Heat n Bond is inside and ready to be fused.


Now we are going to do the same thing to the back. Fuse the outside fabric to the canvas. Now unzip your zipper and pin to the backing.

It's a little more awkward to sew with the extra piece, but just go slow and you will do fine.

Again zip it up!!


I zipped it up and turned it inside out so that when I sew it up and turn it inside out it matches the naked canvas piece. See the pink peeking through the zipper below?


Watch the zipper pull :) Ok so this is what it will look like when it's all sewn up. Here is the fabric on one side and on the flip side

We have the naked canvas getting it's fuse on.

Now pull and turn the bag out.
-Binder's Outside-

-Binder's Inside-

Now were going to iron and fuse this puppy.


*Here is where you might want to trim the canvas a bit. I would say 1/4" not to exceed a 1/2" on each piece of canvas.
Take the two spine pieces and sew them right sides together using a 1/4" seam and leaving a 3" opening to turn it right side out -Press


Remember to put the side of the spine you want on the outside facing the the binder.

I backstitched at the beginning and the end.


Flip it over and match up the other side. Backstitch again at the beginning and the end.


Here it is all sewn together.


Now the binder doesn't lay completely flat because I couldn't find the type of zipper that has a pull on each end of the zip. I'm keeping my eyes out for them and if you know where to get them please let me know :)

Now for a little hand stitching to sew the edges of the spine down. It gives it a more polished look. You could also try zigzagging if you don't mind the stitches on the outside of your binder.
*Here is the reason for cutting the canvas down. I learned something new :)


Lots of photos are much better than words in a tutorial! Thanks for a really good one - it's a great idea. I like the way you kept it real too:-)
ReplyDeleteNice to meet you! I like your name-- and now, it's a movie star name too, so that's probably a lot of people's association with it rather than "hippie"! :)
ReplyDeleteHow clever, and you were so brave to try this super long zipper! Love the fabric you chose. Thanks to for the shout-out!
ReplyDeleteWow, wonderful photos and I LOVE your fabric choices!!
ReplyDeleteNice to meet you! Nice tutorial and good idea!
ReplyDeleteNice to meet you January! Thanks for the tutorial, it's such a good idea, my WIP's always end up squished and rumpled up.
ReplyDeleteI love the idea of a block binder - thanks for the tute!
ReplyDeleteNice to meet you January! Your block binder is such a great idea...and love the fabric.
ReplyDeleteAmanda
What a clever idea, January! Great tutorial -- I love having lots of photos myself -- and a great post. Well done!!
ReplyDeleteHi January, nice to meet you. This is such a great idea. Very nice tutorial.
ReplyDeleteHi There, lovely to meet you and to share our Blog Hop day! I love your tutorial, that folder is just great, and such goregous fabrics too. A lovely post!
ReplyDeleteWhat a smart idea! And delicious fabric choices! Thanks for sharing, and nice to meet you! PS-I think your name is amazing! :)
ReplyDeleteI also love that fabric! Great tutorial - I always think the more photos, the better! And I enjoyed reading your getting to know you post!
ReplyDeleteSo nice to meet you, and such a great tutorial - love the fabric you used.
ReplyDeleteHi January, nice to meet you. What a great idea - it sure beats clean 12 in pizza boxes! Much more polished :) Great fabric and pics!
ReplyDeleteThis is a great idea! I also really love the fabric you chose. I also heart kona solids. :)
ReplyDeleteGreat idea!
ReplyDeletelovely post! such a great idea girl!
ReplyDeleteNice to meet you from Plum and June's blog hop. I think your idea for a tutorial was great! Now I have to think of one too!
ReplyDeleteHi January, nice to meet you!! I love your honesty (what the crap have I got myself into? - haha)!! I was thinking the same thing. I have about three weeks til its my turn on the hop, which means I will come up with a tutorial in three weeks minus one day!! I love the binder and you did a great job with the tute. Who knew alarm clocks could be so cute??
ReplyDeleteHi january. Nice to know I'm not the only one trying to figure out what kind of tutorial to write. You did a great job.
ReplyDeleteYour binder is a great idea and I LOVE the fabrics you've used :)
ReplyDeleteIt's so nice to meet you! ;) This is SO great! You put together a fantastic tutorial, plus I love your fabrics. :) thanks!
ReplyDeleteI love the binder and the fabrics you choose! I certainly agree with you on pressing everything. I always press after sewing a seam and it is my pet peeve when I receive blocks and can tell the person never pressed anything until the end! It was great to meet you!
ReplyDeleteThat is a really cute block binder! Great idea and fab choices of fabric too!
ReplyDeleteLove the fabric you chose.
ReplyDeleteFab tutorial and gorgeous fabric, good to meet you on the blog hop :)
ReplyDeleteGreat idea - very clear tutorial, and I think it's always better to have too many photos than not enough, and have someone bewildered over some step that was obvious (inside your head)! Love that Melody Miller fabric too!
ReplyDeleteGreat idea for the tutorial January, love your fabric too!
ReplyDeleteCatching up on the blog hop - nice to learn more about you - your name is very pretty and original! I appreciate that you included so many photos with your tutorial:).
ReplyDelete